PufferLib+Vast.AI setup tutorial
Reinforcement Learning is hard, and most environment setups are wonky, slow, too expensive to run, or can only run a handfull of environments.
In this tutorial, we will see how to start an entire reinforcement learning setup in under 30’, which is fast, low cost, and gives you access to a lot of different environments, as well as built-in state of the art algorithms from which you can expand. This is using pufferlib, a fast RL library.
This tutorial involves a paid service to rent GPUs, altough it won’t be much, it isn’t free.
Assumptions
Budget
I am a student, maximum budget I can afford was $20 a month if I sacrifice my monthly haircut.
Hardware
You have no GPU, either running on Linux or Windows machine, at least 16Gb RAM & 20Gb free disk.
Software
Python 3.12
Knowledge
You know:
- Github
- What SSH & SCP are
- What is a virtual environment and know about Python
- Know about WSL
The setup
You are GPU-poor? Don’t worry, I am too. You could run pufferlib on cpu (I have done that a lot) but it’s better if you do on GPU.
We will rent GPUs on the Vast.ai platform. $0.15-$0.40 an hour.
- You dev on your own computer on your pufferlib’s fork.
- Push changes
- Open your vastAI instance, pull your changes, start your experiments (most require 1-20min)
- SCP the weights and logs to your local computer
- Run eval / render on your own computer
Costs:
- Most low scale research/experiments (95% people reading this): never need more than 1 hour ($0.15-$0.40)
- Running big sweeps on hard envs: maybe 24h ($3.6-$9.6)
Setup Vast.ai
Vast.ai is a platform where you can rent GPUs. Go to Vast.ai website and make an account. Put $5 in there. You will access your instance through ssh, so let’s set this up.
SSH Keys
I recommend using WSL if you’re on Windows. Really, nothing hard to do: WSL install guide.
You can create your ssh keys on Ubuntu following those steps:
Make your ssh folder if not already there
mkdir -p ~/.ssh
chmod 700 ~/.ssh
Use ssh-keygen to generate an ssh key
ssh-keygen -t ed25519 -f ~/.ssh/<name_your_key>
You’ll be prompted to enter a password or press ENTER if you don’t want password. Your choice.
Copy your key to use it later
cat ~/.ssh/<your_key_name>.pub
Upload your key to your Vast.ai account
Go to Keys on the left menu
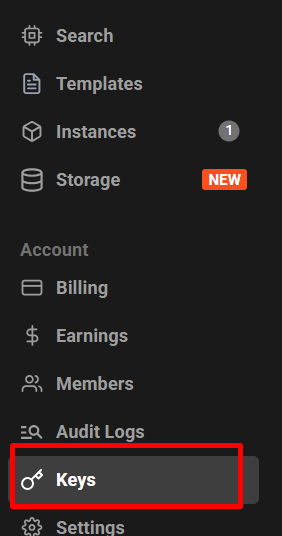
then click on New

Paste your copied ssh key in there, starting with ssh-…
Pick & Start your instance
Go to templates on the left-side menu
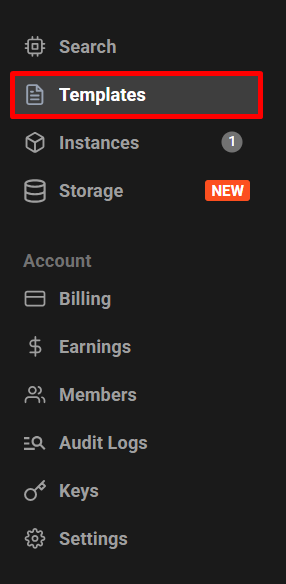
Type in Ubuntu and look for Ubuntu XX.X VM, then click select
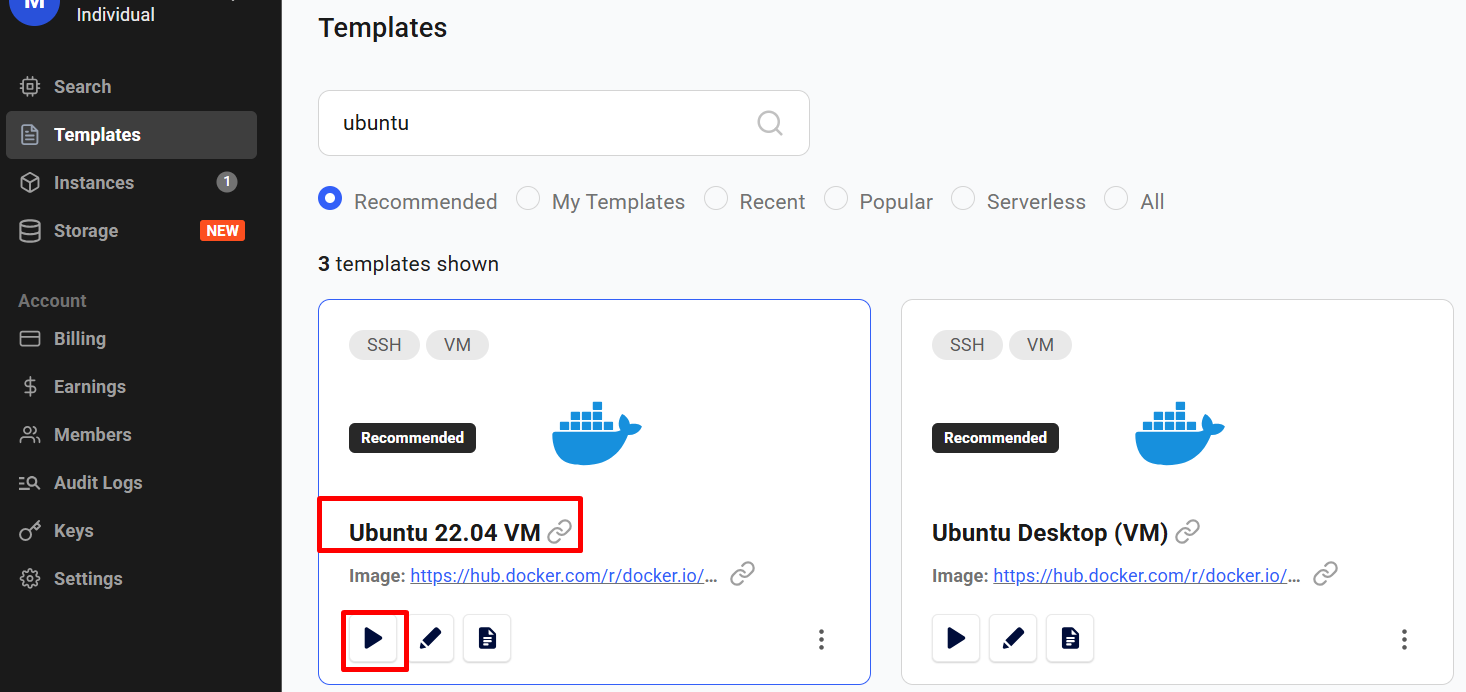
Find one that make sense for you. Any 3090 will do for almost any standard experiments. Then click Rent on the right

After that, you will see in the left menu, under Instances the selected instance added to the list. It will take anywhere between 5 and 30’ to start and be available to you. Once it’s available, it will show like this, with the >_ icon opening the ssh command to connect to your instance.
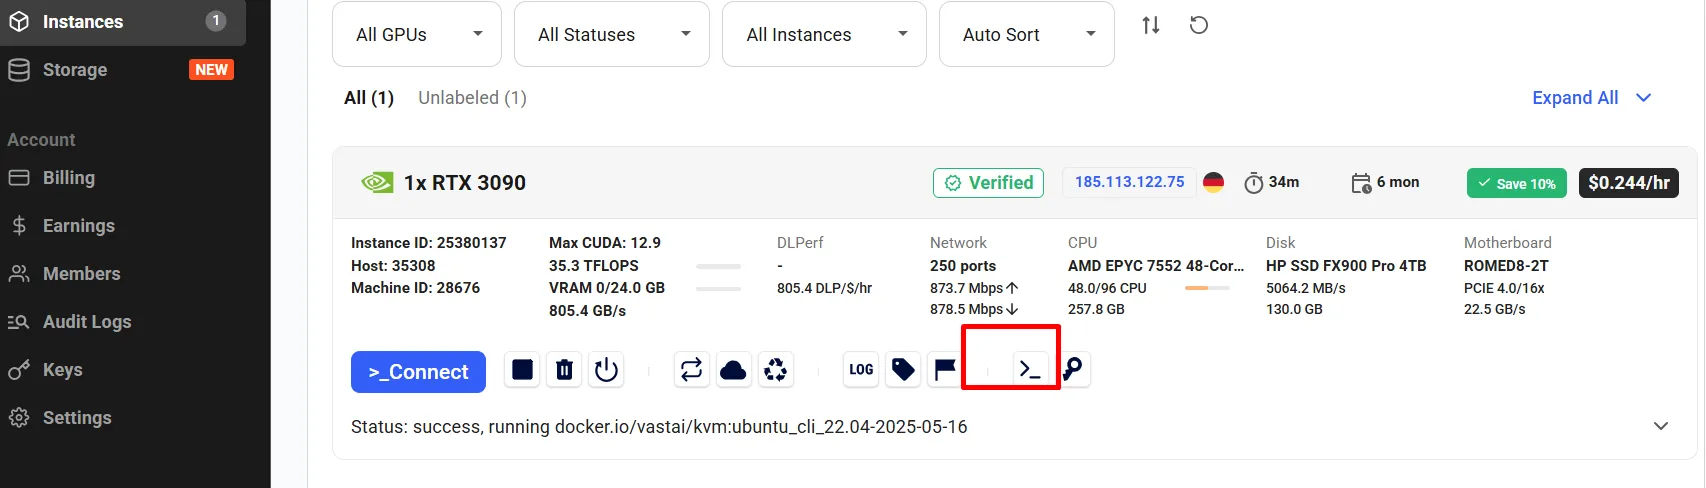
While your instance is puffing up, keep going through this tutorial.
Fork pufferlib
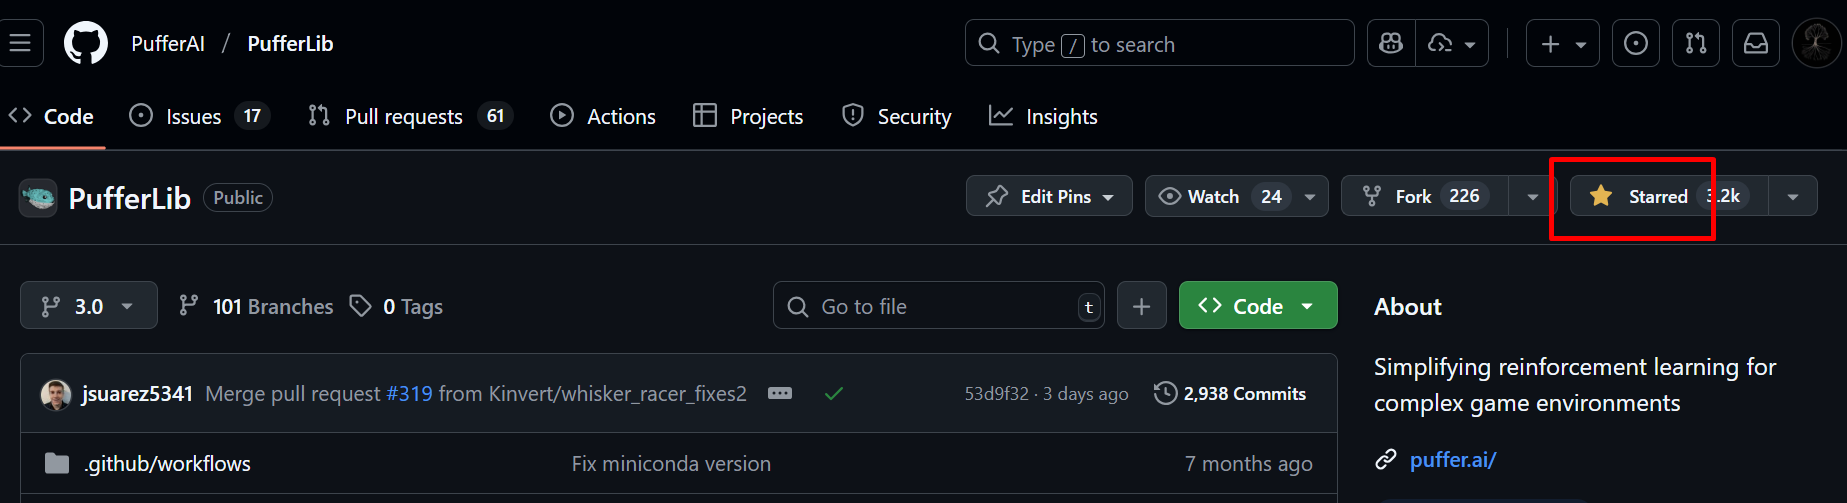
Go to pufferlib github, as of today, current branch is 3.0. Make your own fork.
Then clone your forked repo locally on your computer. You should have something like this: 
Making pufferlib work without GPU is really much better with virtual environment. So I recommend making one
$ python --version
Python 3.12.10
$ python -m venv venv
$ source venv\bin\activate
Then install with pip in editable mode. You will need some tweaks, installing some more required dependencies.
pip install -e .
You may want to change the default config to using cpu in config/default.ini
device = cpu
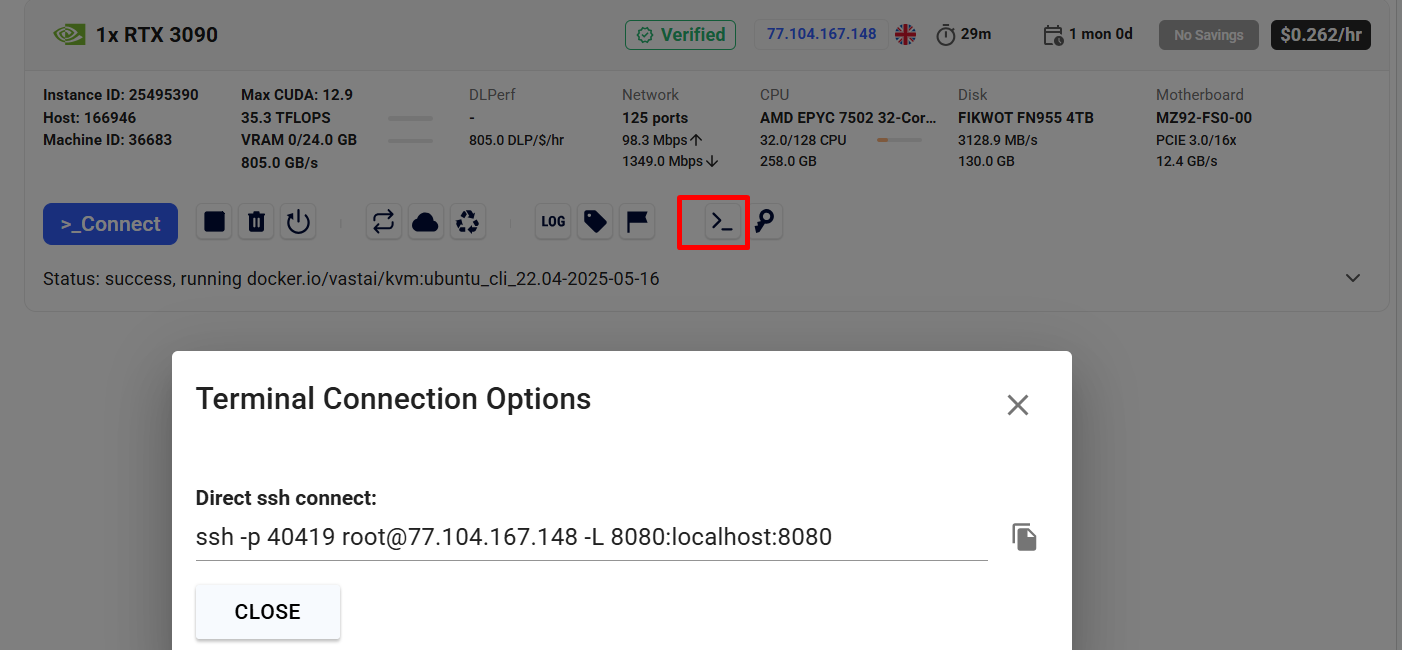
Connect to your Vast.ai instance
Now that it should be ready, open a terminal on your local computer and enter the ssh command
You’ll be asked if you’re sure you know the host’s key, say yes. You should see a welcome message and your prompt now show you’re connected to your instance. You can type in
nvidia-smi
Which will display your GPU specs.
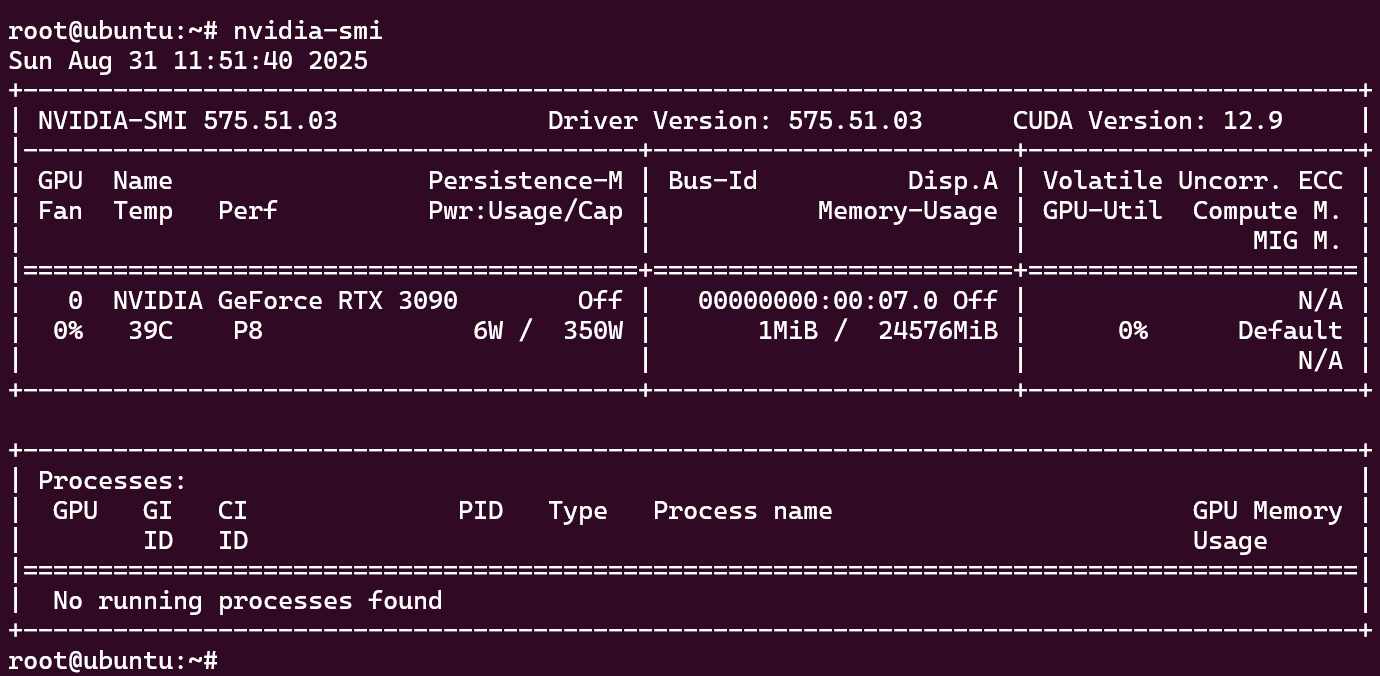
YAY!
Get pufferlib on your instance
Now the easiest way to get pufferlib working on a GPU instance is to get the docker container named puffertank which already has everything you need to make it work. Puffertank does not work as of today if you do not have a GPU, that’s why I showed you the pip installroute earlier for local install. The following is on the puffer website doc: puffer doc
From your instance, type:
git clone https://github.com/pufferai/puffertank
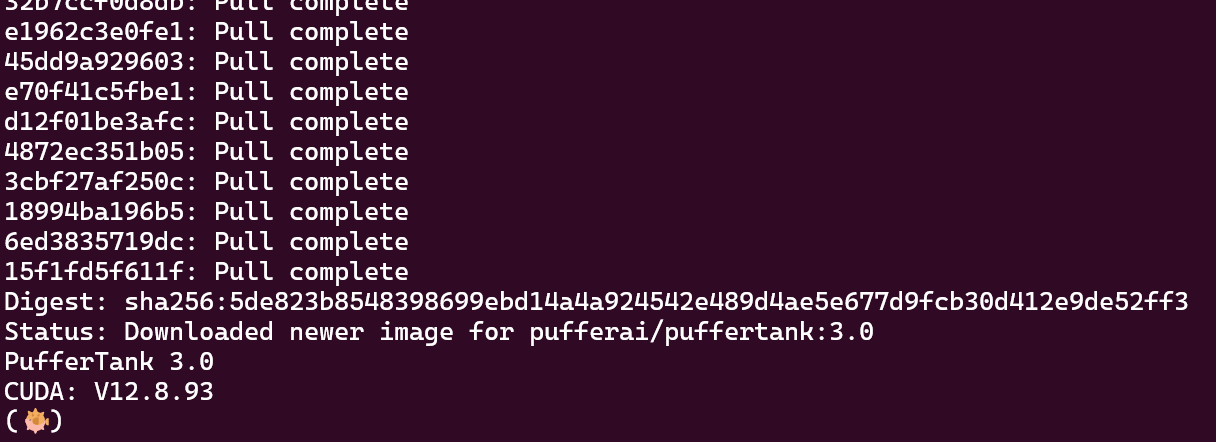
cd puffertank
./docker.sh test
This will take a moment (<3min). Once it’s done, you should have a nice puffer prompt:
(Optional) Set up neovim config
Puffertank comes with a nice Neovim config which you can use, takes 1min to install and is free. To do so open Neovim:
vim
Then :PlugInstall. You should be prompted about supermaven api key but you can use it in free mode. If not prompted, just quit :q and open any file
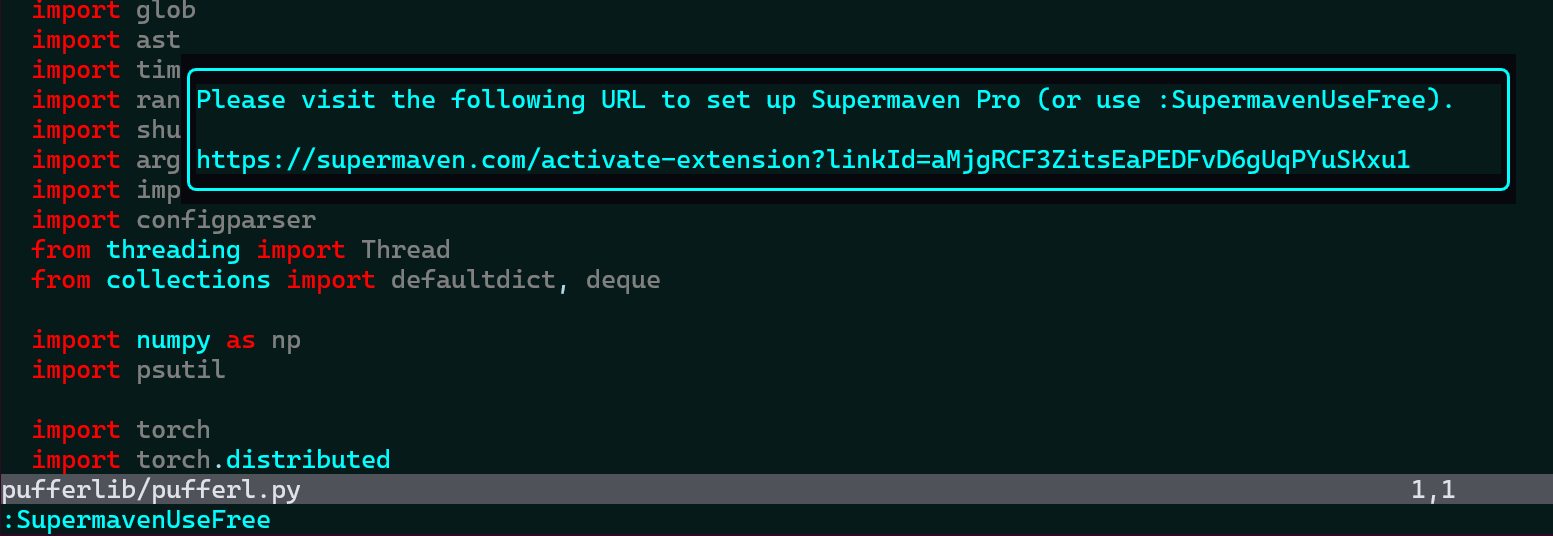
vim pufferlib/pufferl.py
A message should display about supermaven, type in vim :SupermavenUseFree to use for free.
Get your fork in there so you can run experiments
Now is time to add your fork and be ready to run your experiments. From inside puffertank:
git remote add myfork https://github.com/YOURNAME/pufferlib.git
git fetch myfork
git checkout -b mybranch myfork/branchname
pip install -e .
This should take ~2min.
Run an experiment
Let us run a basic experiment with pufferlib. Ocean are a
growing collection of 1st party environments. Most run 1M+ agent steps per second per CPU core. They are implemented in pure C.
They have cartpole implemented in C. To train:
puffer train puffer_cartpole
Runs at 3.5M SPS on this rented GPU
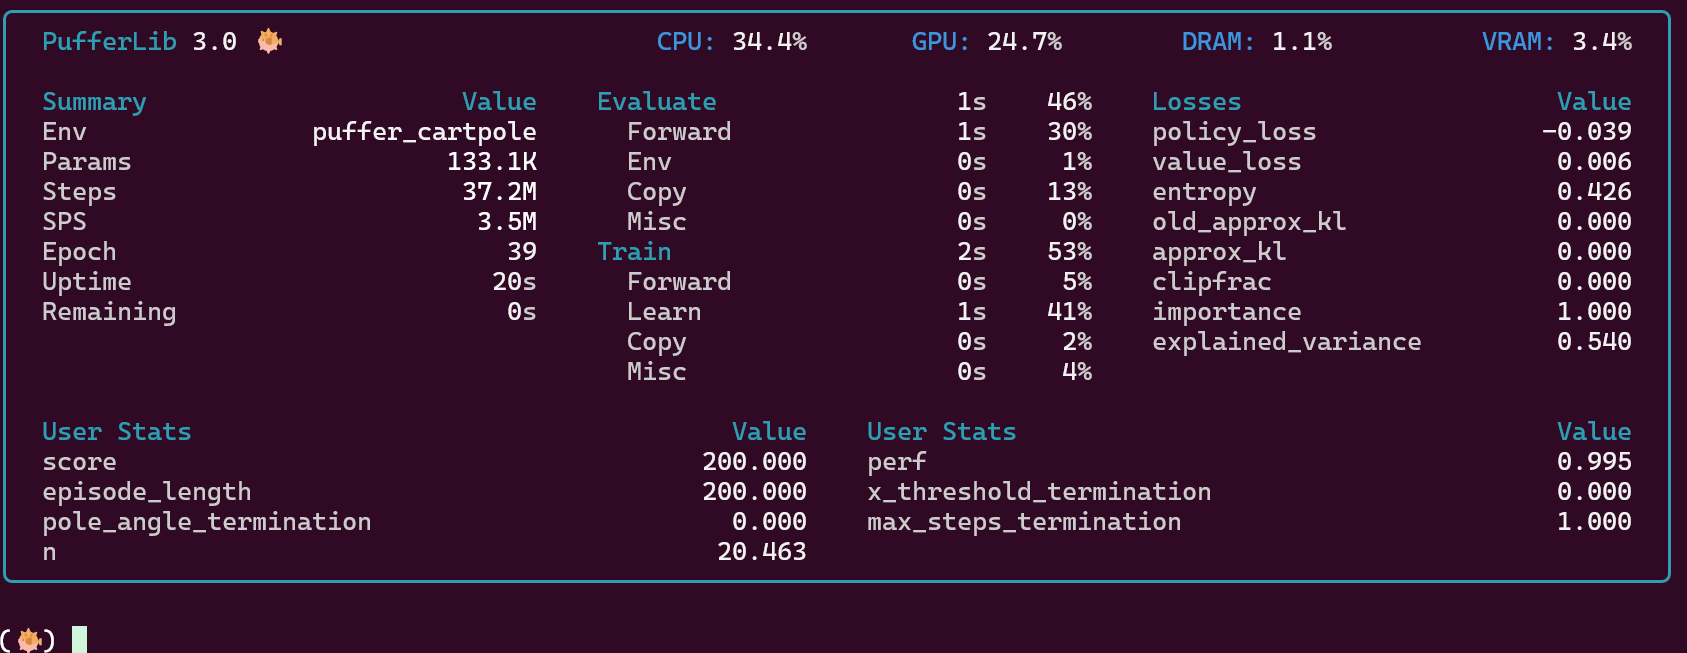
YAY, YAY!
Now you would like to get your weights and logs home, wouldn’t you?
Get the weights and render on local computer
The experiment files are stored in experiments/ in pufferlib.
Exit the container:
exit
Now you’re back into the host VM. Make a folder where we will copy the container files in, before we can scp from our local machine
mkdir -p ~/experiments
docker cp puffertank:/puffertank/pufferlib/experiments/. ~/experiments
Now, go back to your local machine, and open a terminal (I’m doing this from WSL):
scp -r -P <SSHPORT> root@<VAST_HOST_IP>:~/experiments/* /<path_to_your_local_pufferlib>/experiments/
Now from within your pufferlib repo locally, you should have the files in your experiments folder:
$ ls -lt experiments/ | head -n 3
total 6916
-rw-r--r-- 1 m1000 m1000  536994 Aug 31 14:16 puffer_cartpole_175664206340.pt
drwxr-xr-x 2 m1000 m1000    4096 Aug 31 14:16 puffer_cartpole_175664206340
Having activated your virtual environment, you can now eval the trained model:
puffer eval puffer_cartpole --load-model-path latest
And this should display your cartpole trained agent!
YAY, YAY, YAY!!!
2 ways of terminating your Vast.ai instance
Stopping your instance (I do not recommend)
You can stop your instance. The Vast.ai cost is divided into two sections: GPU and Disk - go on the Billing section on the left menu in Vast.ai. When you stop your instance, you still get billed the Disk costs. The pros should be that you keep your data and everything you have on your host instance. Altough very low cost, your GPU can still be rented out to someone else, and not be available when you want to start it again later ! (This is what enables this renting service to be so cheap, so I won’t complain). Therefore, my advice is destroy your instance.
Destroying your instance
That’s what I do. All your billing are stopped, but you will loose everything that is on your VM, so make sure you collected everything you needed beforehand.
If you’re really broke and can’t afford to let your instance run for too long, you can do like me, spin up a new instance each time. With a little planning, start your instance on Vast.ai ~15’ before you start your work, and then all it takes is ~10’ to set everything up.
How I do is when I dev & work on new algorithms & envs, I just use my local computer, to make sure things run. But as soon as I want to fully train an agent or run sweeps, I’ll prepare in advance the list of things I need to run, spin up an instance, and then collect all the required files, before shutting down my instance.
Going further
If you want now, you can go read in more depth the puffer documentation. Make your own environment, modify the algorithm, anything you want. Read Joseph’s articles to help you get started with pufferlib, or in RL in general: Joseph’s X articles
Don’t forget to start pufferlib on github !